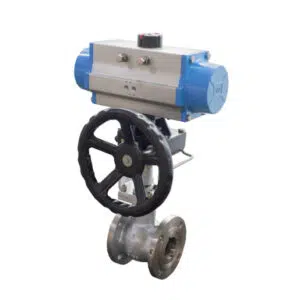
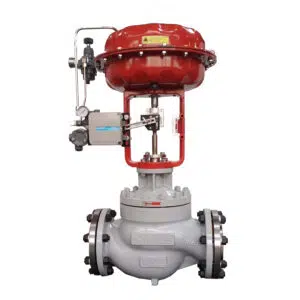
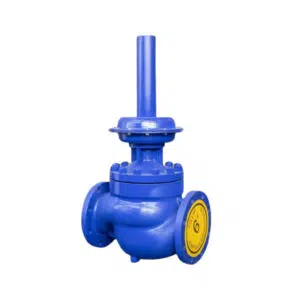
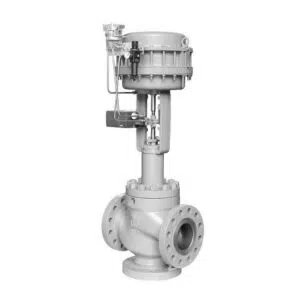
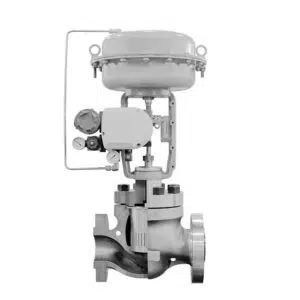
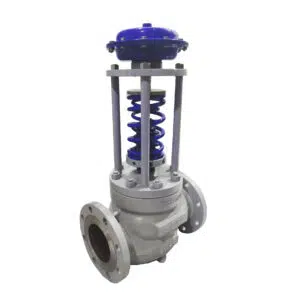
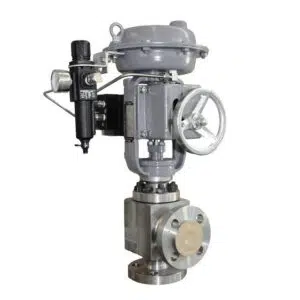
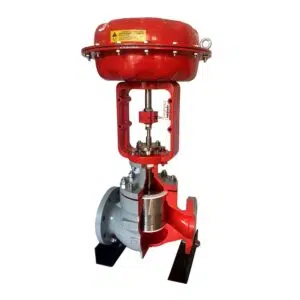
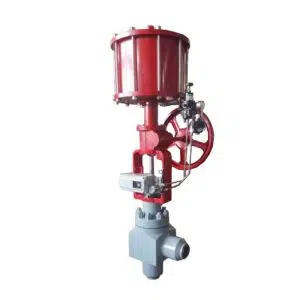
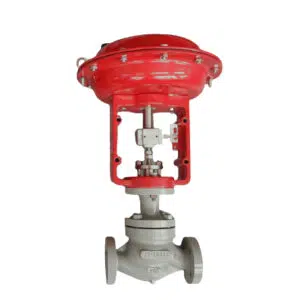
The actuator of the valve is an important component of the valve system. It controls the opening and closing or modulating of the valve.
Before you install your new actuator of valve, you should notice four points.
1. You need to completely shut the process down or use a bypass valve to get the valve out of the process pressure. The ends of the valve have fluid drained from them.
2. Air power, electric power, or any control signal should be disconnected from the operating lines to the actuator of valve.
3. If there is a sudden release of process fluid pressure, avoid personal injury or damage to the processing system.
4. During the maintenance of valve trim, packing, seat, or other inner parts, all the gasket or sealing should be replaced after reassembly, this is necessary to ensure the valve has good sealing and avoid any leakage.
Depending on the pressures, temperatures, pressure drops, and fluid conditions, valve configurations and materials of construction are selected. Contact the THINKTANK if you want to apply additional conditions that aren’t approved because they are limited in pressure, temperature, and pressure drop ranges. Now let’s step by step install a new actuator of valve.
Step 1. Remove the old actuator from the valve
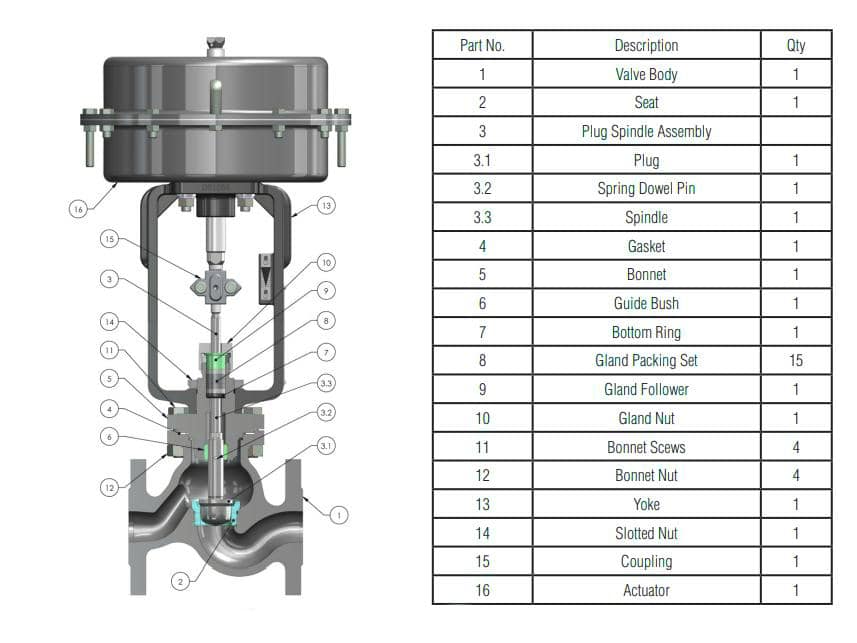
- The actuator should be put in the mid-lift position and secured by air or hand wheel.
- Unscrew the bolts from the coupling (part 15) and remove the two halves of the stem coupling.
- The gland nut(part 10) should be loosened to allow valve stem to slide free through the valve bonnet.
- Remove the air connection from the actuator of valve.
- The slotted nut (part 14) should be unscrewed.
- Be careful during lifting the actuator assembly over the stem from the valve, and avoid any damage to the valve or actuator parts.
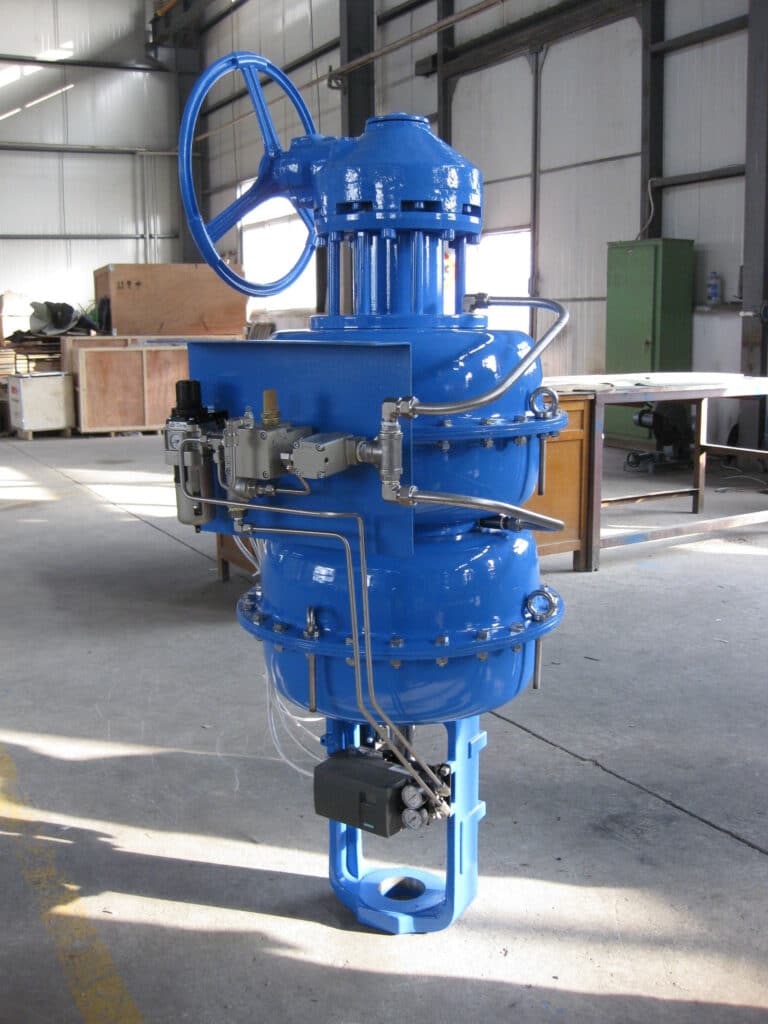
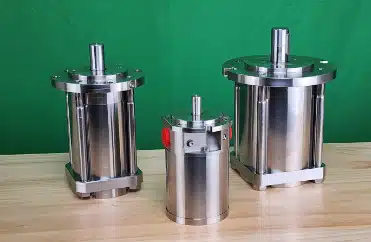
Diaphragm Pneumatic Actuator of Valve Manufacturer
Step 2. Install the new actuator of valve
- The valve bonnet should be lowered over the actuator of valve and the slotted nut should sit squarely on the shoulder.
- The actuator should be rearranged to the correct position. The travel indicator plate should be on the front of the vehicle.
- The valve bonnet threads need to be tightened after the slotted nut is screwed onto them. It is recommended that you apply molykote to the threads.
- Slowly regulate the supply of air to 1 bar above the valve’s beginning range.
- Install the connector between the valve stem and actuator stem, and match the threads of the connector with the threads of the stem.
- Lift the stem of the actuator by applying a little air power to the actuator, and raising it by a maximum of one pitch if they are not aligned.
- The 13mm nut and 6mm head should be tightened if they are aligned.
- Supply max. air power to pneumatic diaphragm actuator, until the travel indicator reaches 100% full opening of valve, release air power and check the valve travel again.
Step 3. Test it
Once you have installed your new actuator of valve, test it to make sure everything works as expected. If not, contact us at 86-185 1656 9221(WhatsApp) so we can help you fix any issues.

